Installation guide for adhesive bonding of absorbents
Installation guide for gluing sound-absorbing panels (absorbers)
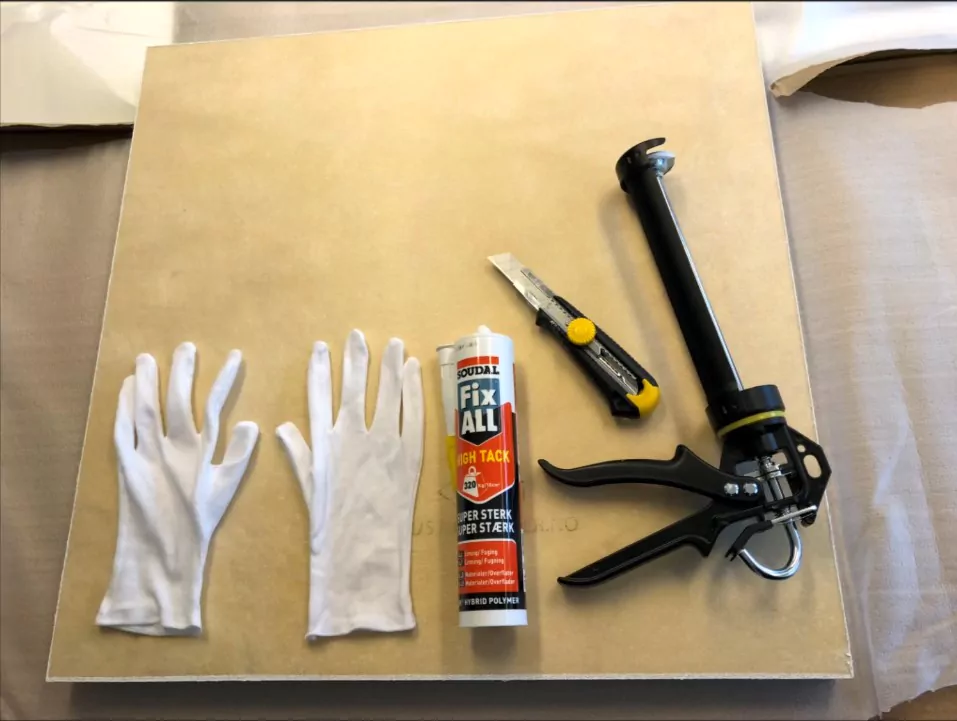
Here's what you need:
- White cotton gloves
- Adhesive (one cartridge of installation adhesive is enough for approx. 2m²)
- Glue/sealant gun
- Measurement tools
- Wallpaper knife
- Rubbish bags
- Covering material (cardboard, plastic)
- father
- Cross laser
As well as any other necessary equipment to perform the job
Product control
Before you start the installation, it is important to get an overview of the materials and what you have to work with.
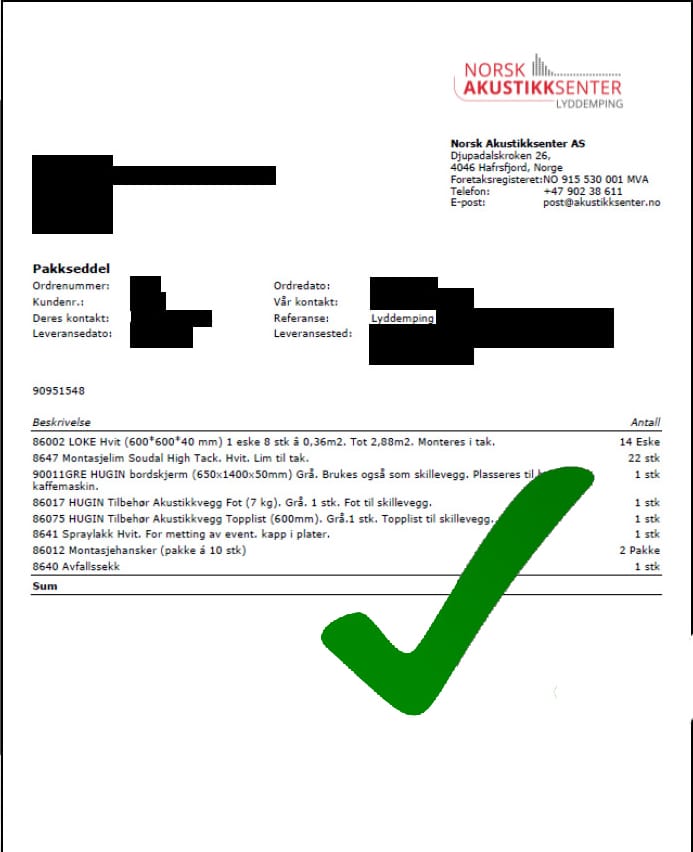
Check the packing slip sent by email and included with the goods against what has been delivered.
Note down deviations, breakage and defects/errors.
Documents with photos.
Planning and preparing the room for installation
Good planning is half the battle.
Measure widths and lengths. Make sure to divide the area in advance.
- Plan how you want to position the discs, symmetry is important.
- Measure and mark with auxiliary lines, e.g. with a pencil. Or use a cross laser.
- Cover what is needed in terms of floor space, furniture, technical installations etc.
- Rig a stepladder or scaffolding as needed. Be extremely careful with soft floors.
- The cardboard boxes with absorbents are opened carefully, avoid cutting the discs. The film is there to protect the discs.
- ALWAYS use white cotton gloves during installation.
- Cutting and punching should be done where you can control the dust, preferably outdoors.
Gluing of absorbents
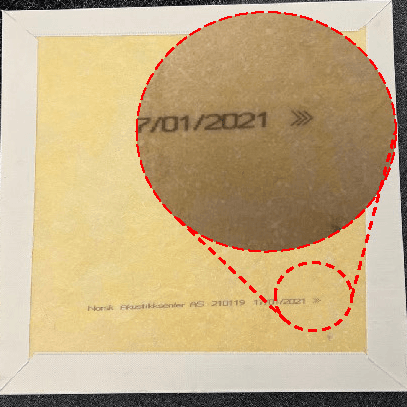
The back of the disc is clearly marked.
NOTE: Eira products must be placed in the same arrow direction >>>>
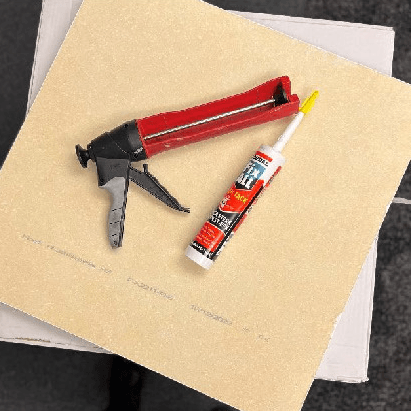
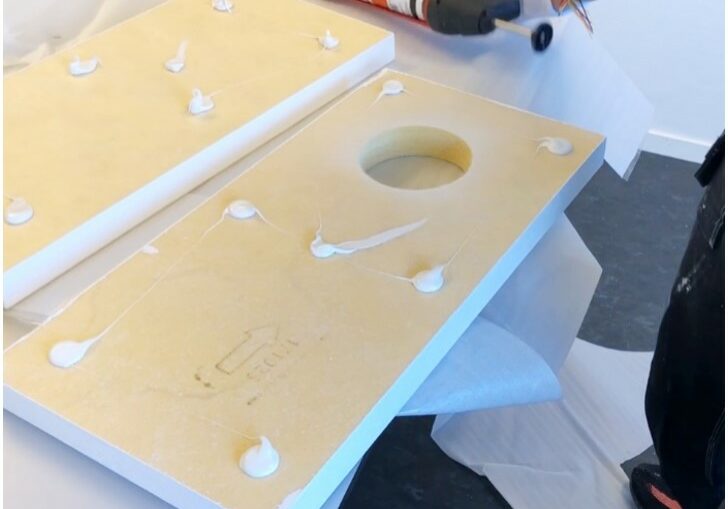
Place the board upside down on a clean surface, ready to apply adhesive.
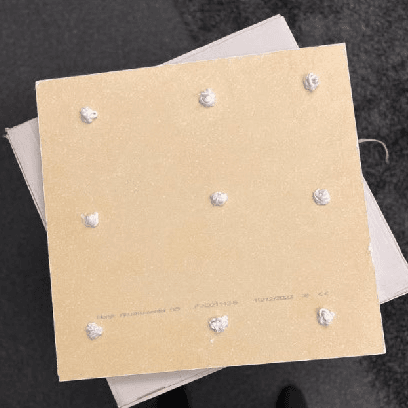
The adhesive is applied thickly, point by point. 9 points on a 600x600mm absorber.
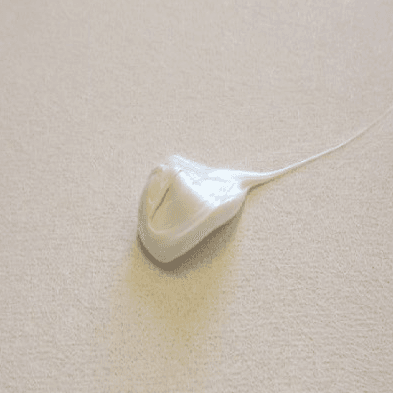
The correct dosage per point is approx. 3 cm in diameter.
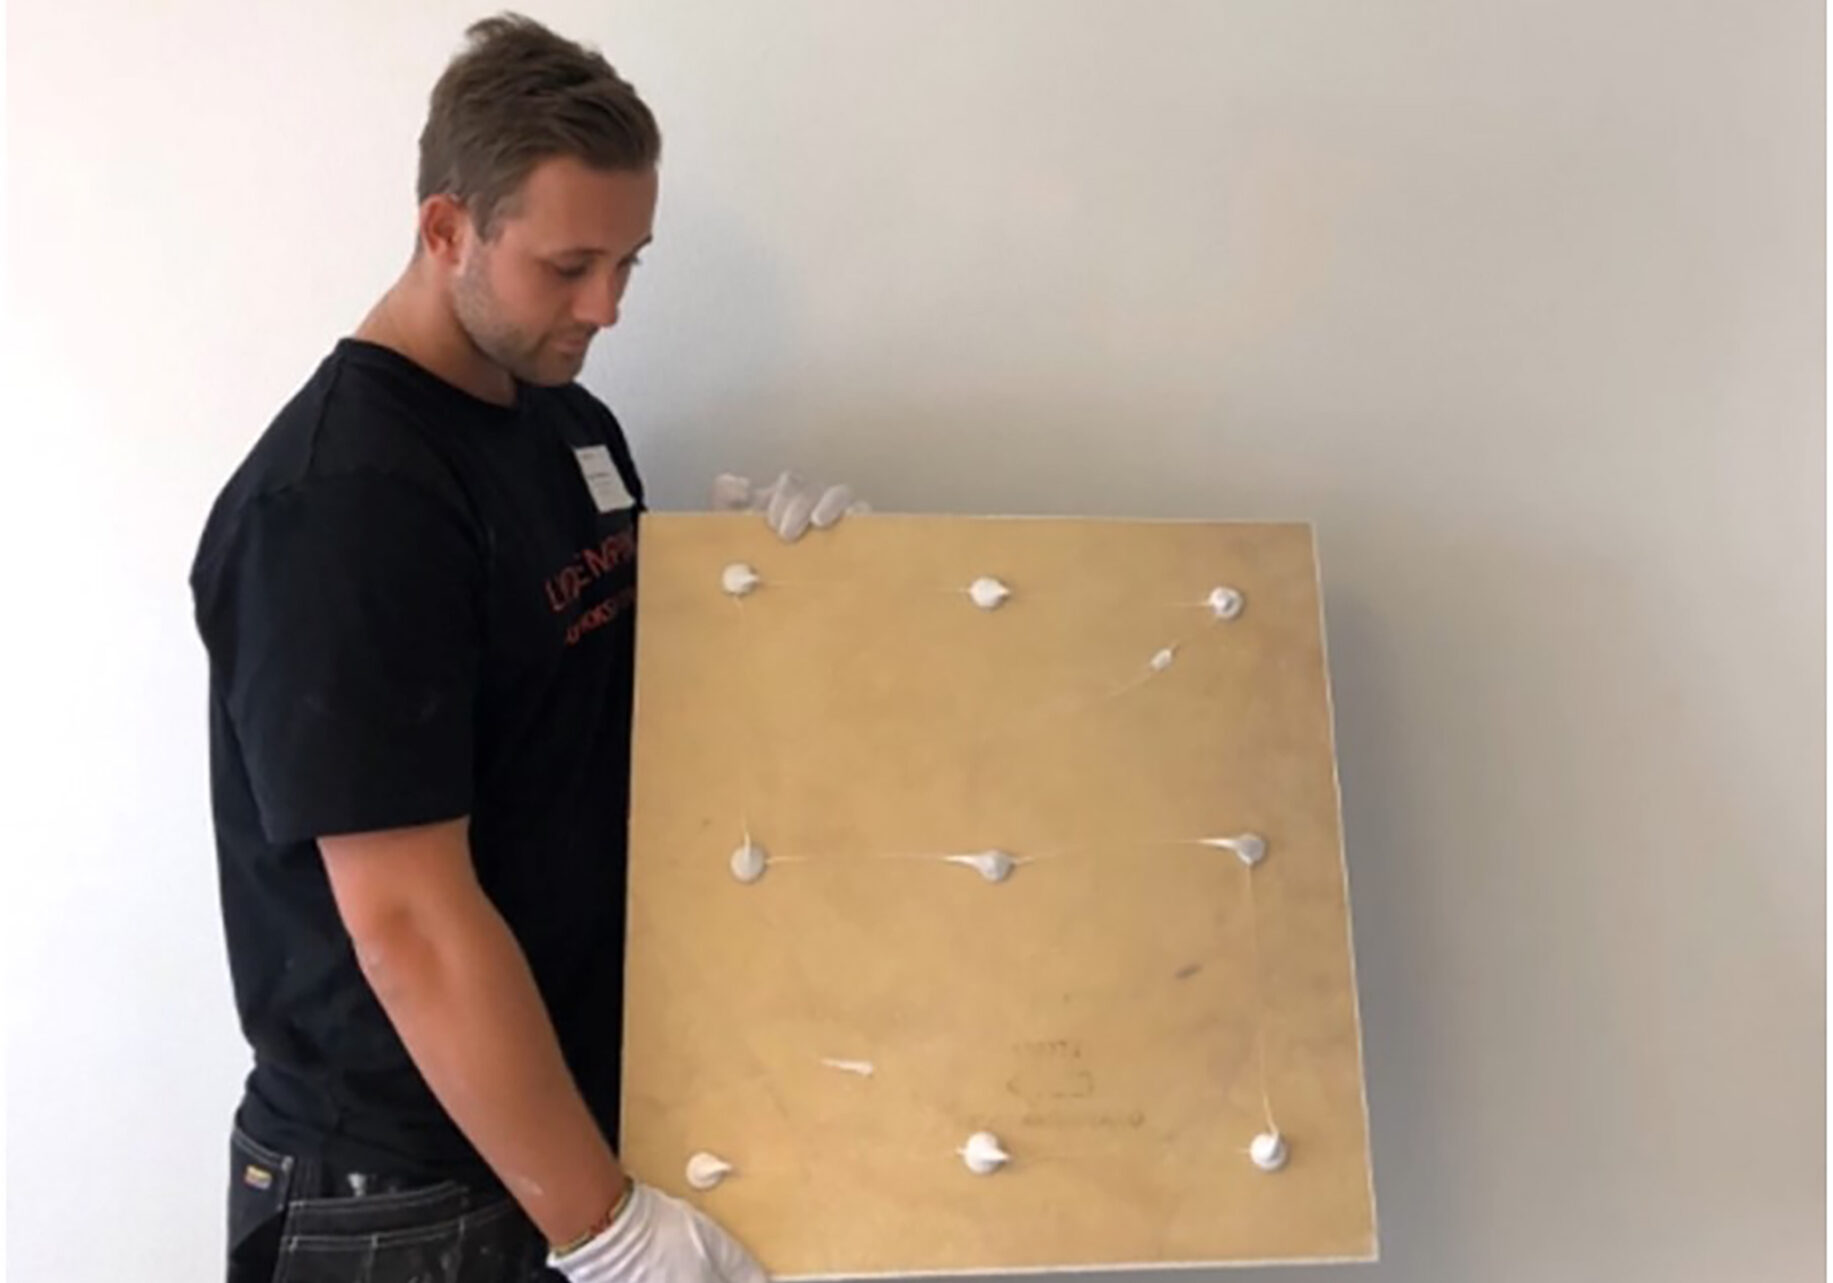
Positioning of the glue points. If there are unevenness in the substrate, the adhesive is used to level this. This means that it may be necessary to use more adhesive to achieve a nice even finish.
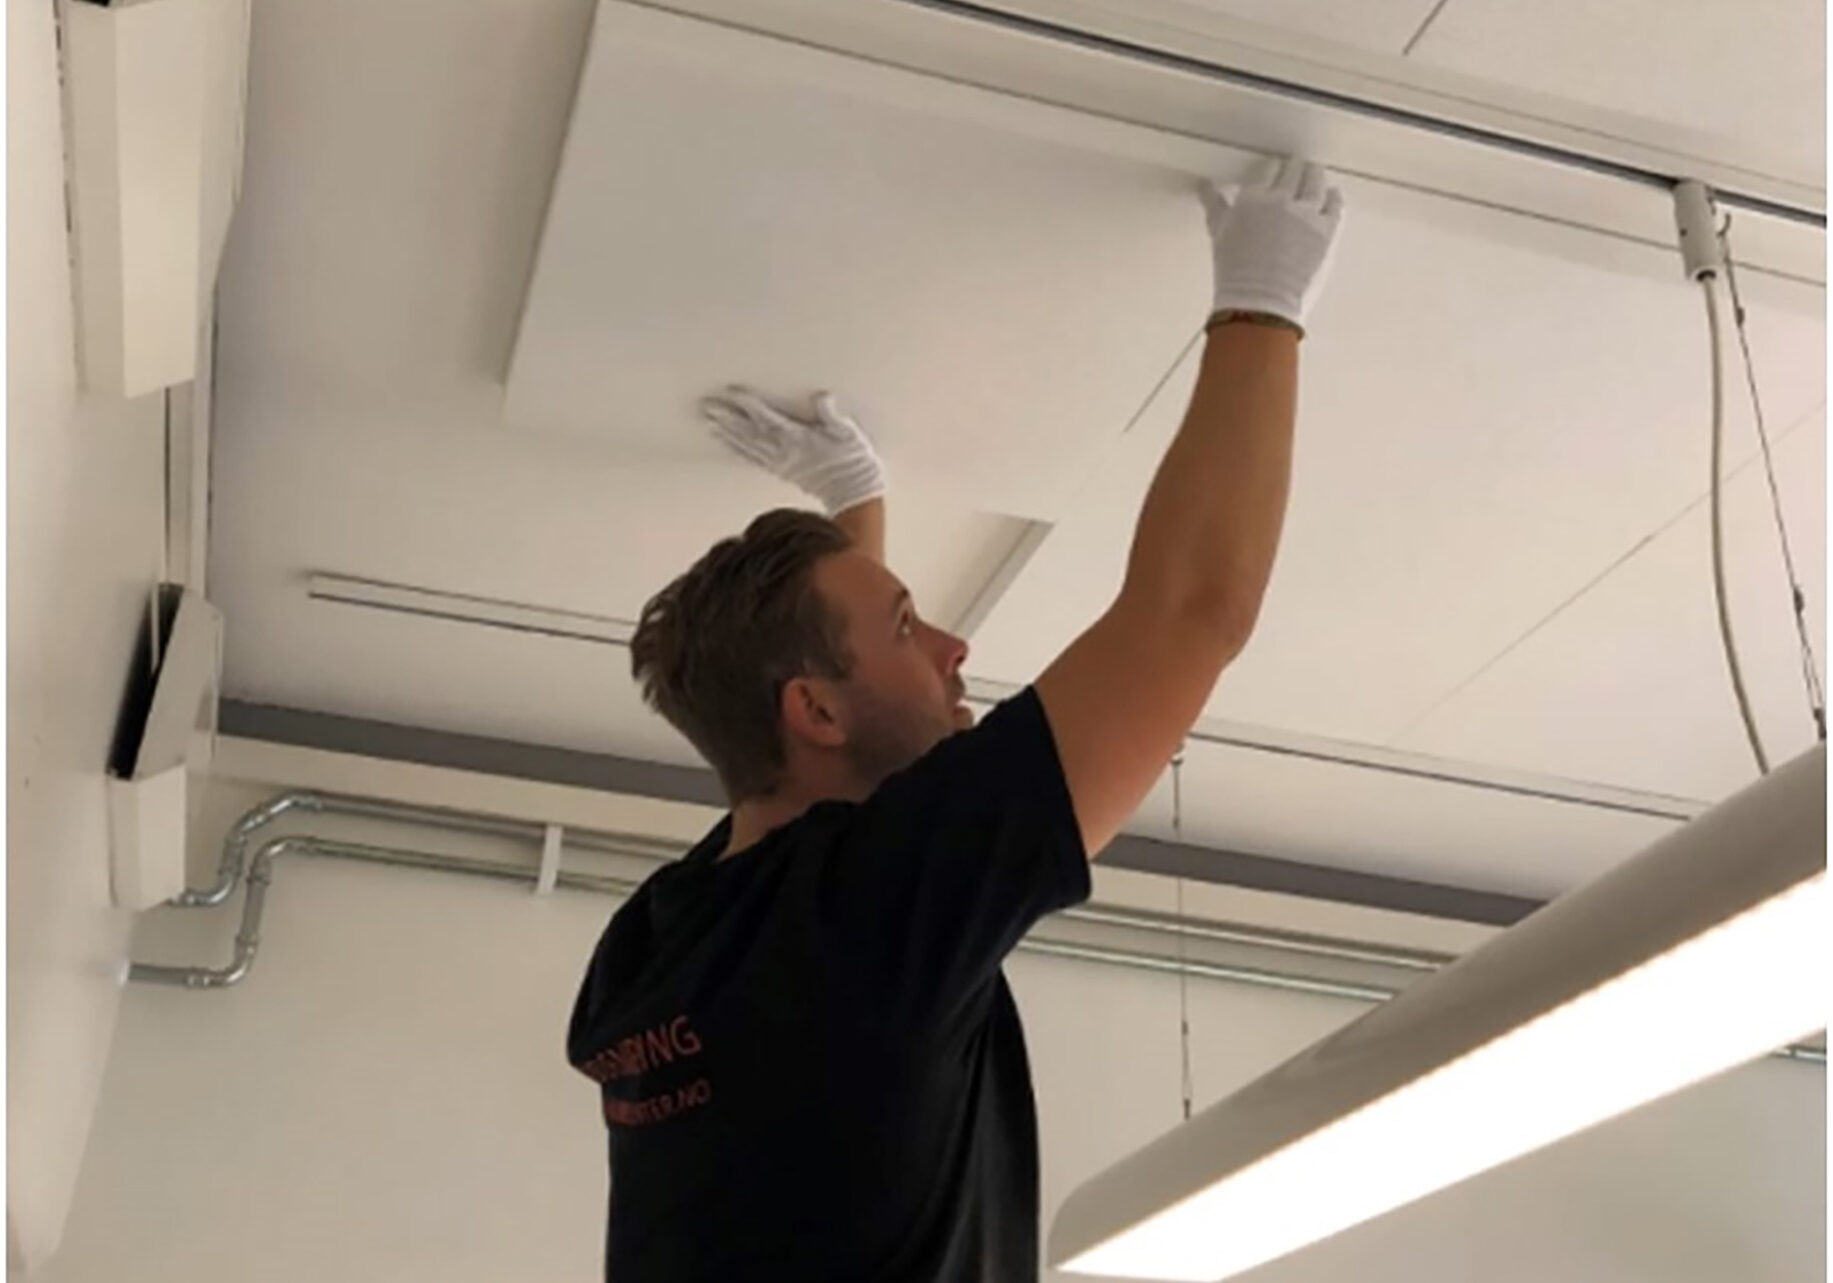
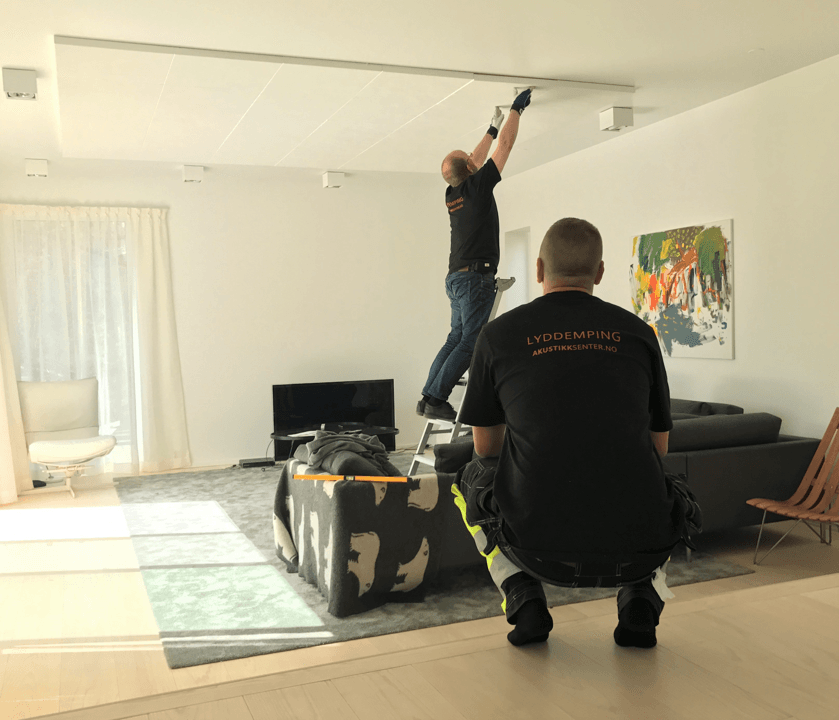
Install on the ceiling with even pressure over the entire disc. Do not use force. There should be approx. 2 mm of air between the disc and the surface when in place. As previously mentioned, use white cotton gloves.
NB! The discs cannot be bent.
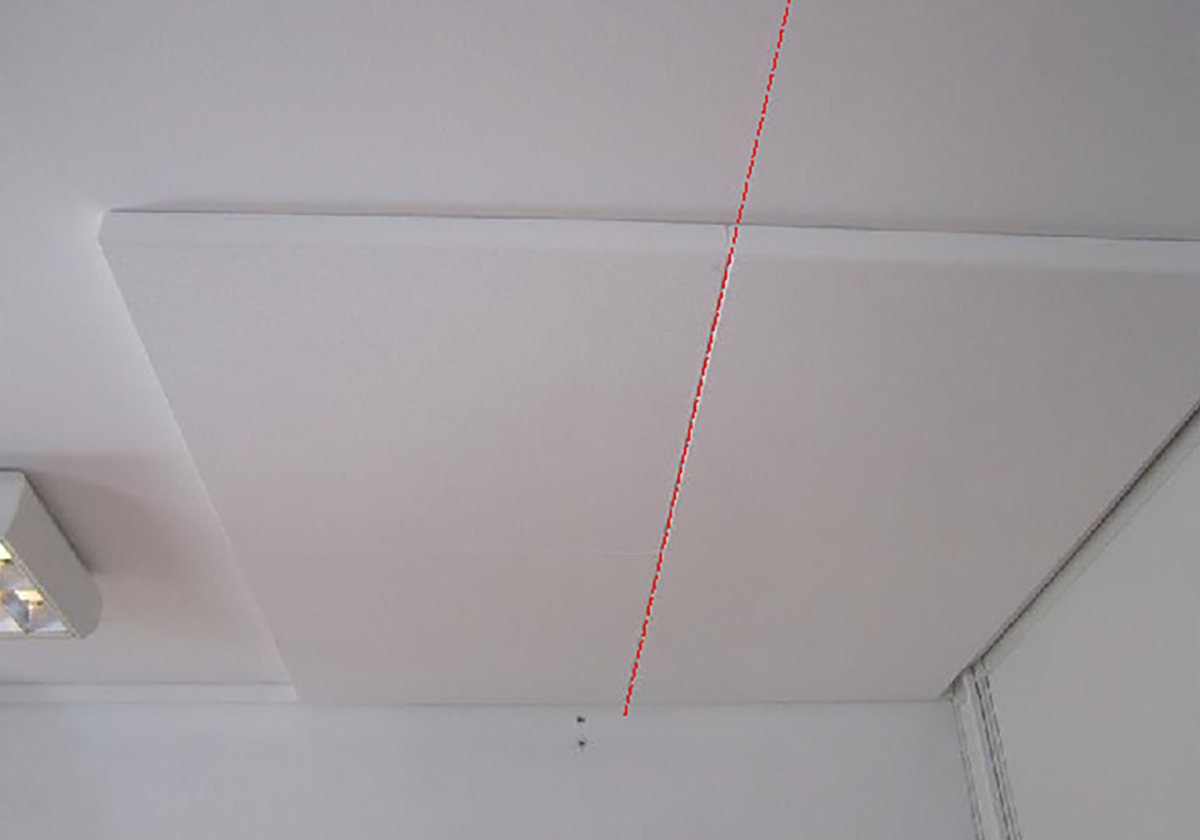
When you have installed a few panels, check that the lines are correct, be very careful with this and you will save yourself problems later.
Customisation and sheathing in the absorber
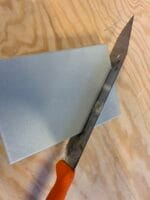
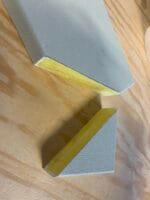
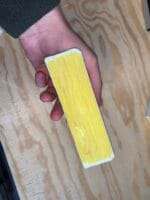
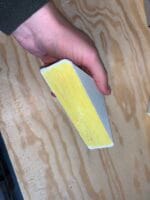
Holes for installation in ceiling
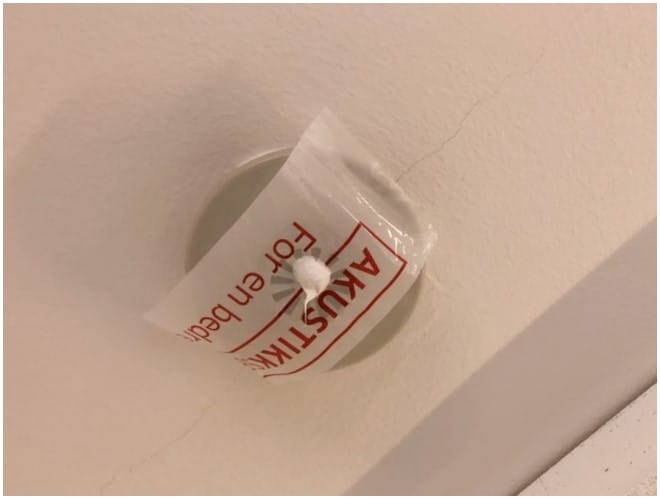
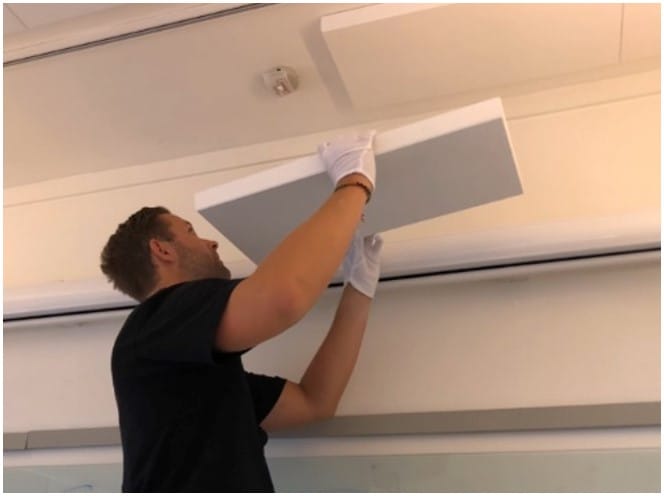
Sometimes we use glue, for example, to mark exactly where to drill holes for various installations. Or measure and customise accordingly.
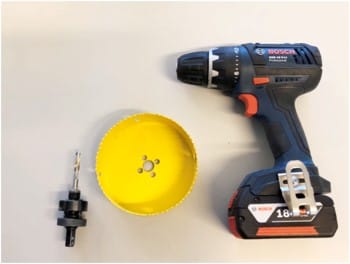
Equipment: Drill w/hole drill - hole taker
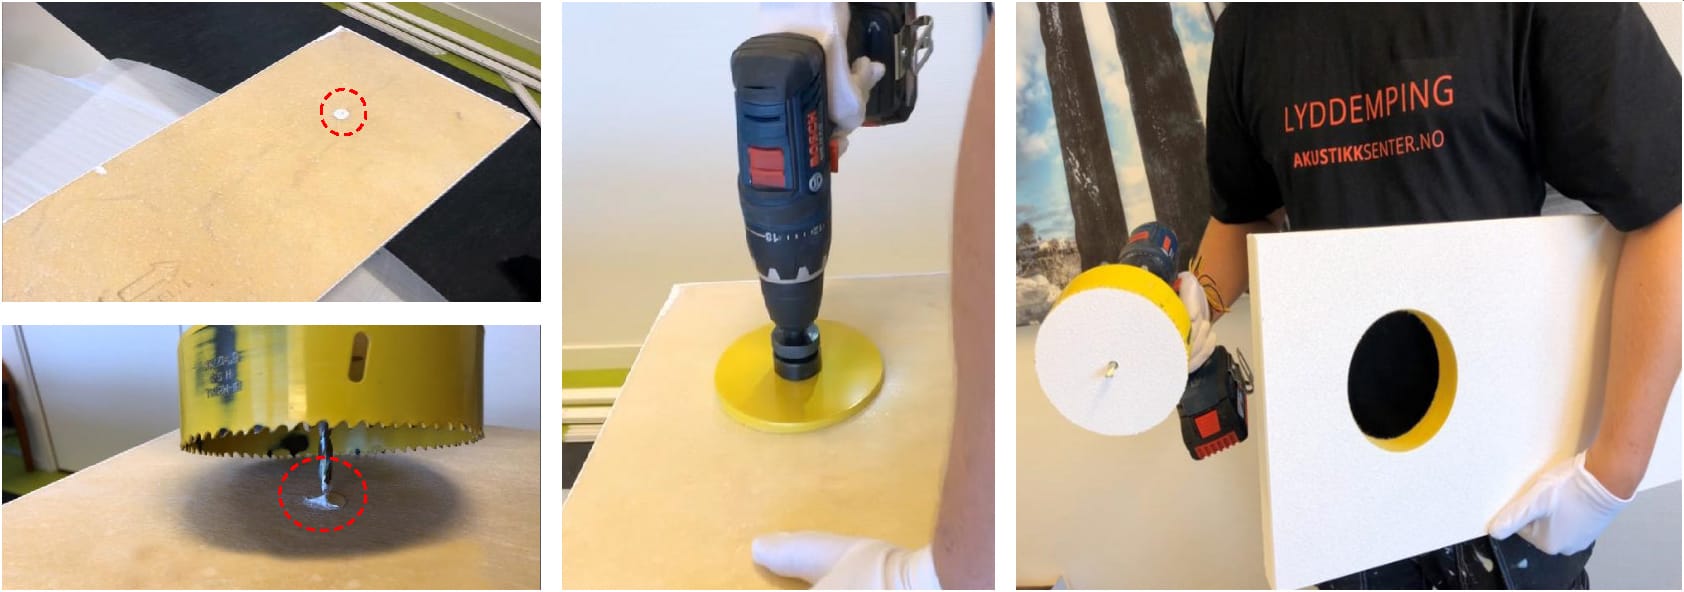
Drill exactly where it is labelled.
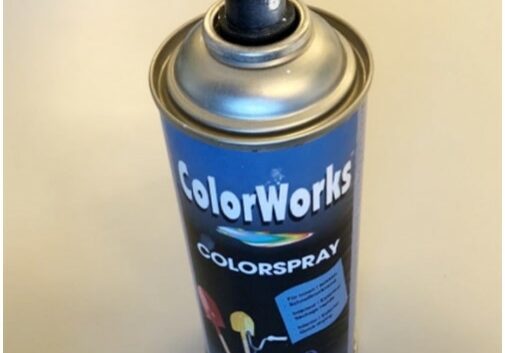
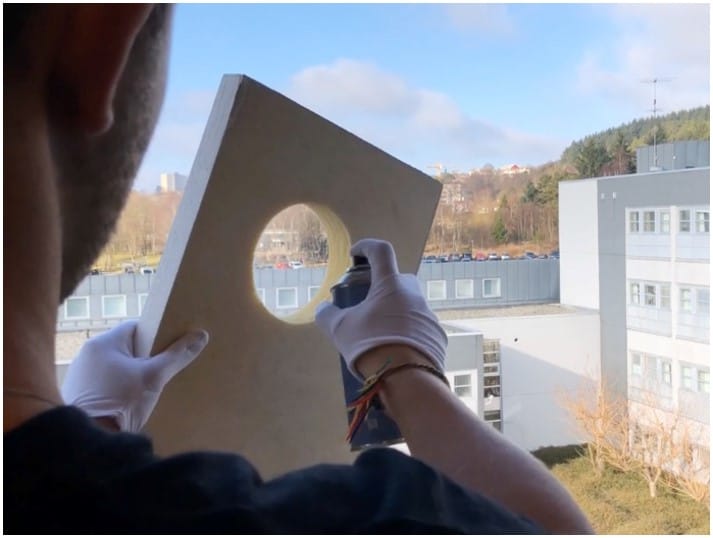
The cut surface must then be sealed to prevent spillage. This applies to clean cuts with a wallpaper knife or hole punching. Spray against the back of the board, do not get paint on the visually visible side of the board.
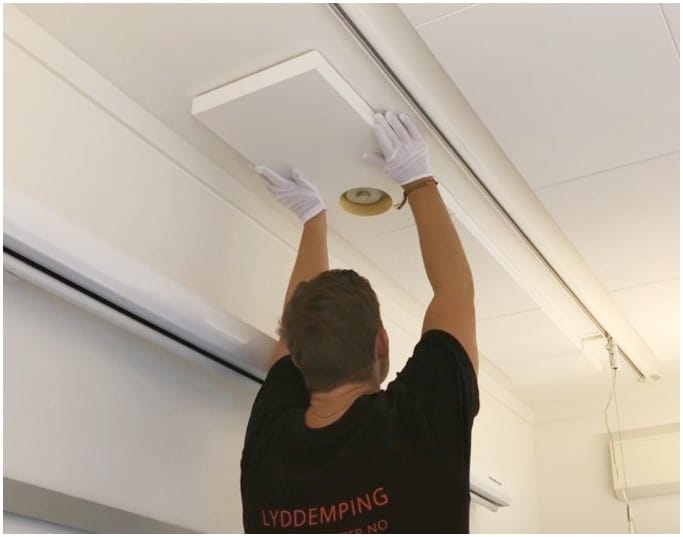
Apply adhesive and mount the plate to the ceiling with even pressure across entire discs.
Notification:
When placing and installing absorbers in connection with fire detectors, detectors, etc. the guidelines in NS3960. If in doubt, contact professionals.
Cleanliness and tidiness
- Keep things tidy around you during whole the duration of the installation, you'll save yourself a lot of time in the end and avoid minor damage and spills.
- Vacuum and broom and keep it clean.
- Sort waste (cardboard, glue cartridges, plastic, residual waste).
- Use suitable protective equipment. Gloves, goggles, mask.
