Installation guide Hugin™ Acoustic table screen and partition wall
Mounting instructions for Hugin™ table screen
1. Determine the position of the mounting bracket on the table screen:
- On one side of the table screen there are small stickers showing where to insert the fixing bracket into the table screen, which we will come to in point 3.
- Hold the table screen against the table and note where the fixing brackets need to be attached.
2. Install the mounting bracket on the table in the specified position:
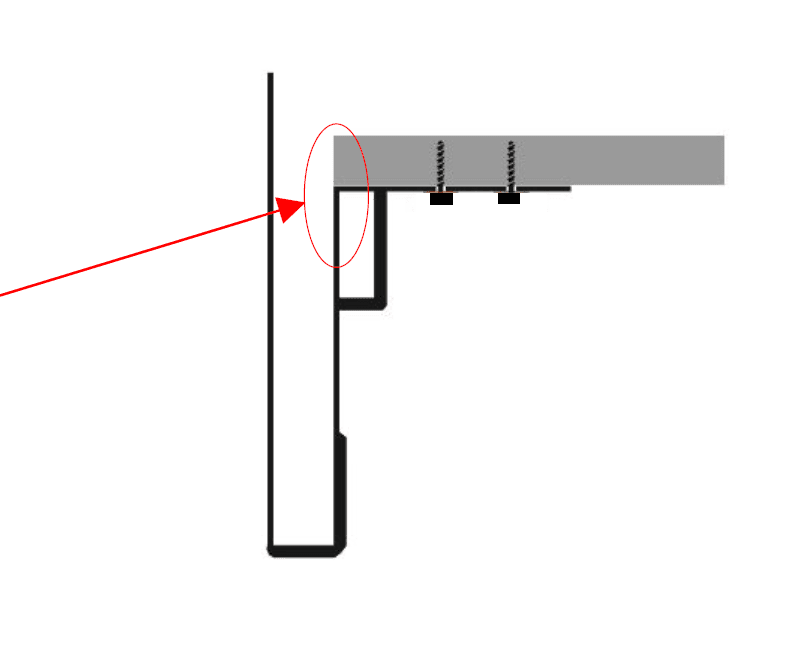
- Hold the fixing bracket up against the underside of the table so that it is flush with the edge of the table.
- Secure the bracket with the screws through the holes in the bracket and into the table.
- NB! Do not use screws that are too long.
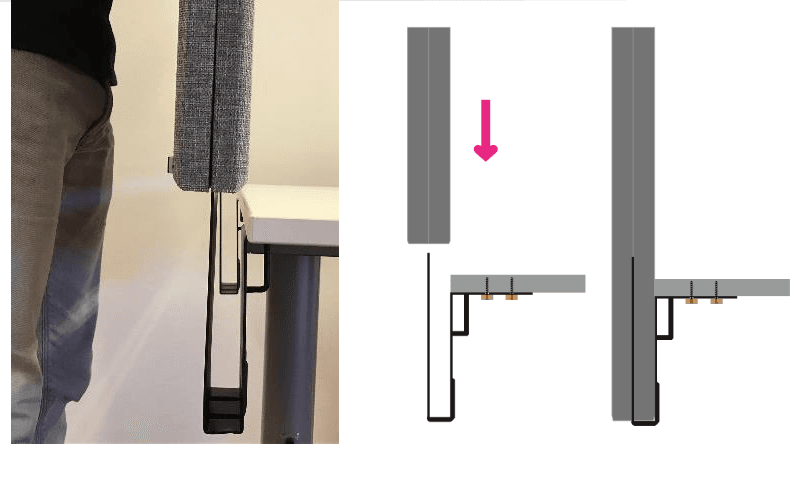
3. Mount the table screen on the table:
- Lower the table screen vertically onto the brackets.
- The mounting brackets should slide in between the two parts of the table screen.
- The table screen is now fully assembled!
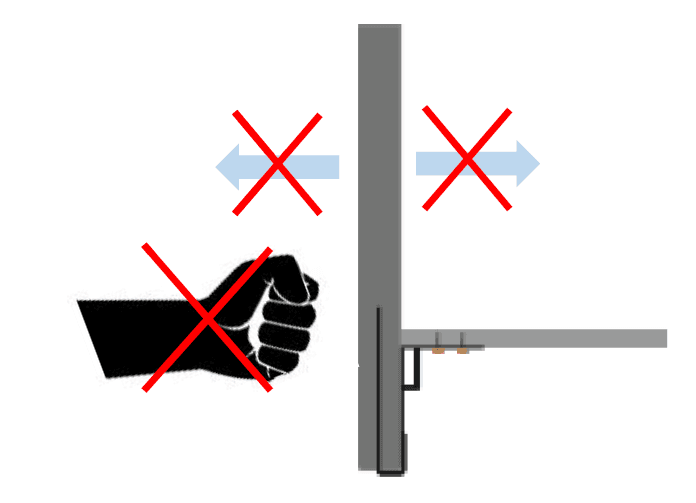
Warning
- Avoid hard knocks against the table screen, even if it is impact-resistant.
- Avoid large movements back and forth of the table screen.
- No leaning against the table screen.
- The table's material can be challenging to screw into, so consider drilling holes for screws first.
Assembly instructions for Hugin™ partition wall
1. Hugin™ partition wall
- The standard size of the product is 1500X1200 mm.
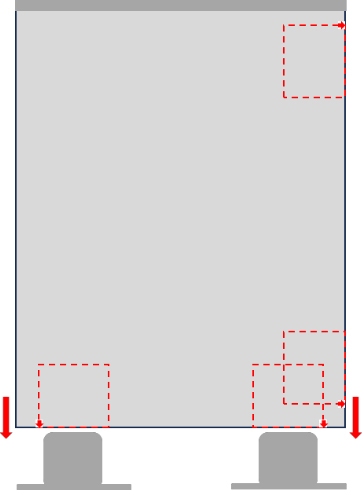
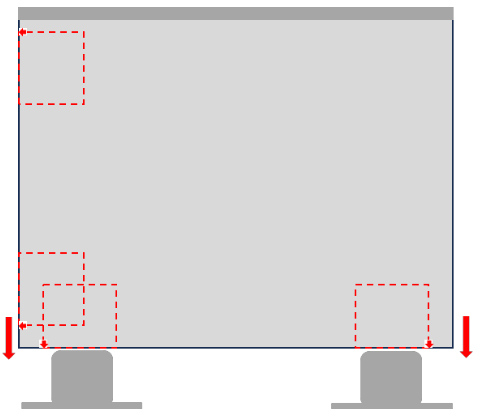
- We have configured two different installation directions. This way you can get two different sizes of width and height. See figures 1 and 2.
- You can choose the direction that suits your needs.
2. Accessories
- Each Hugin™ partition wall is equipped with two metal feet and a metal top strip.
- Metal feet come in one standard size
- The metal top moulding must be ordered in the same size as the width of the wall. Either 1200mm or 1500mm
3. Installation
- The first step in the installation is to place the metal feet in the position you need.
- The Hugin™ partition has prepared spaces for inserting metal feet on the inside of the wall in both directions. See the red dotted areas in figures 1 and 2.
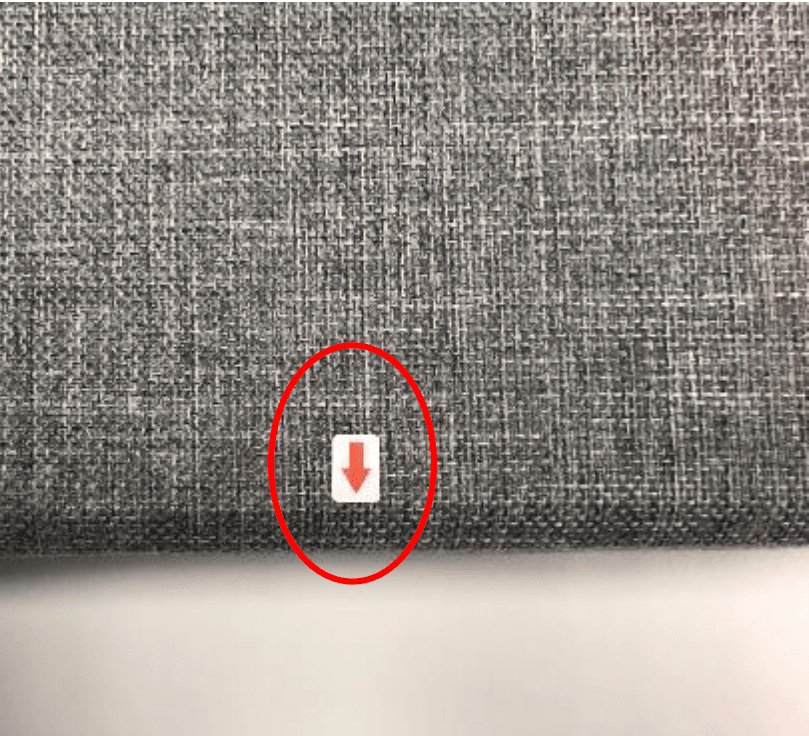
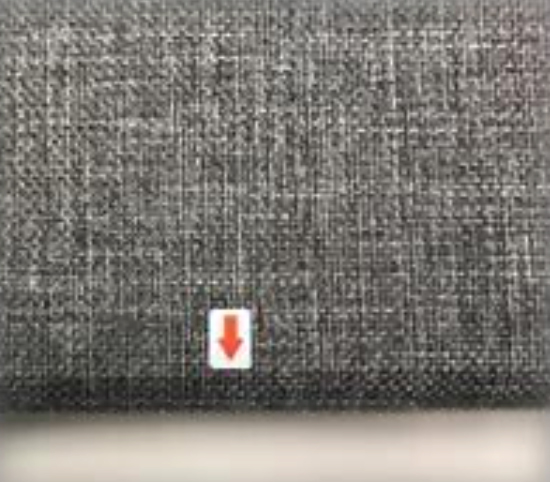
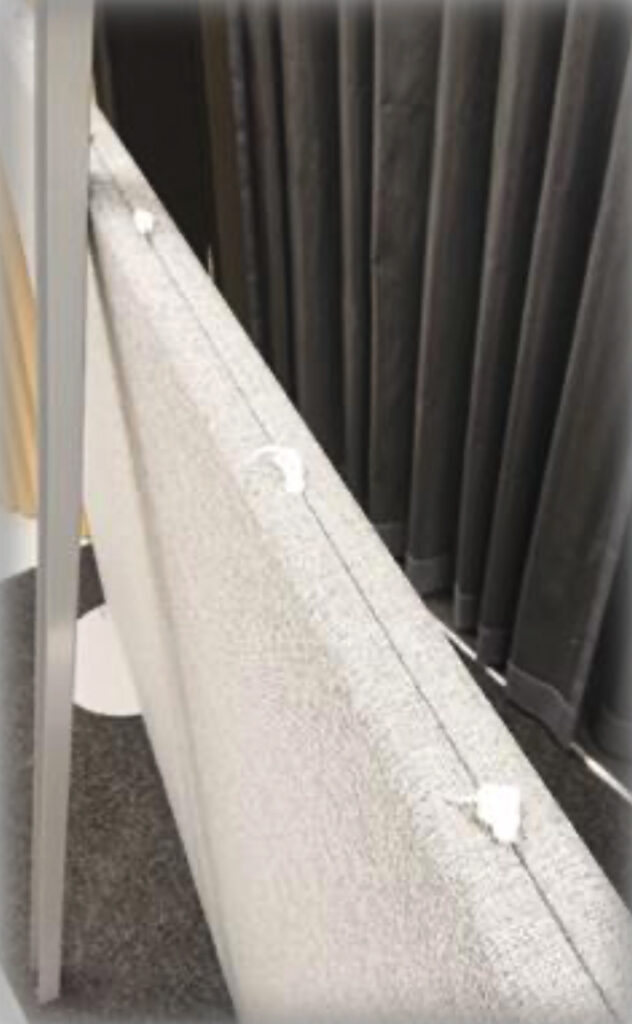
- Small stickers with a red arrow on the outside of the Hugin™ partition edges indicate the space prepared for inserting metal feet. See figure 3.
- Lift the Hugin™ partition and guide it down onto the feet. You can insert two metal feet at the same time, or you can insert one and one. Always pay attention to the edges and corners of the partition to avoid hard impacts.
- If necessary: glue the metal top moulding to the top of the partition with a small amount of glue. Please see figure 4.
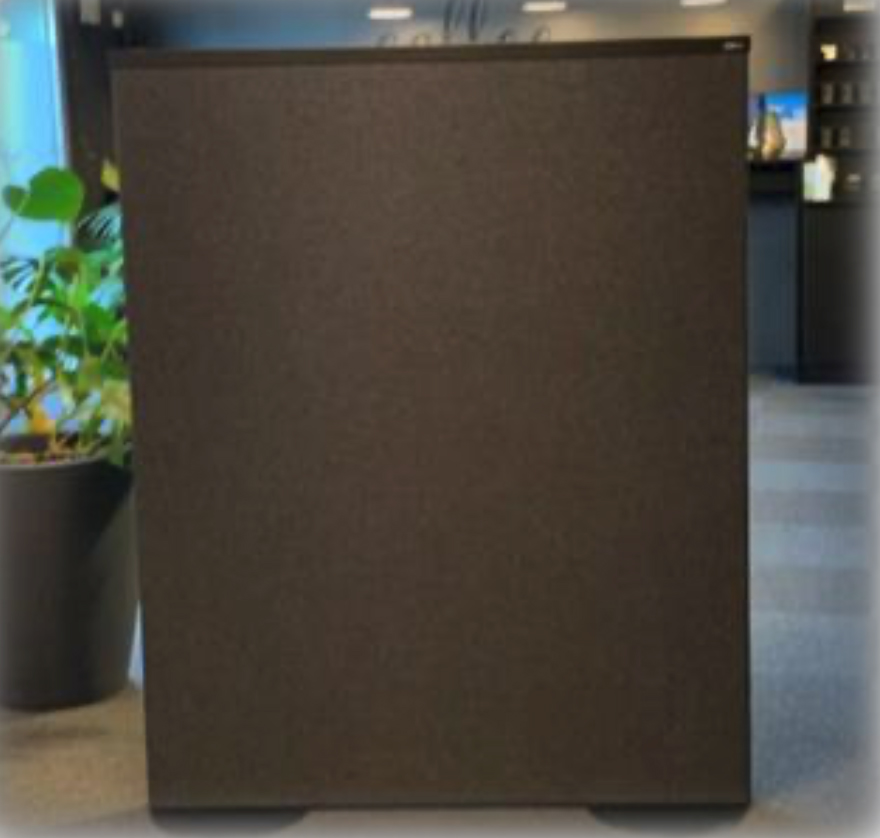
- Finished installation, see figure 5.
If the panels are not already glued, or if you have purchased a partition that is not the standard size. Then follow steps 1-4 below before following the steps in the installation guide above.
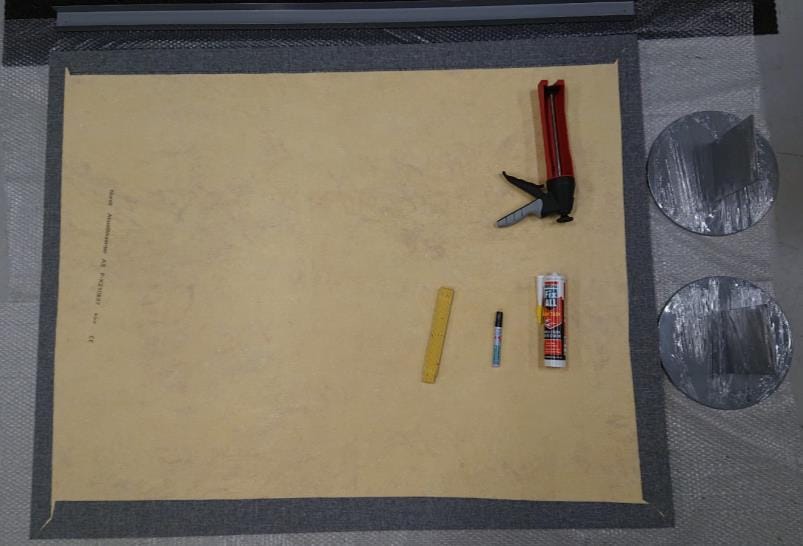
Step 1
Get the necessary tools and place one disc on a flat and clean surface.
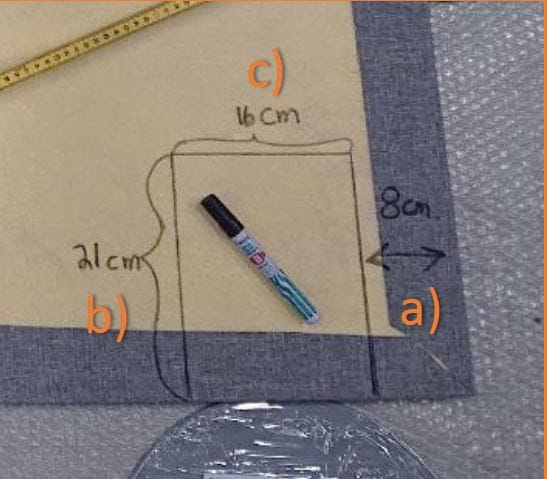
Step 2
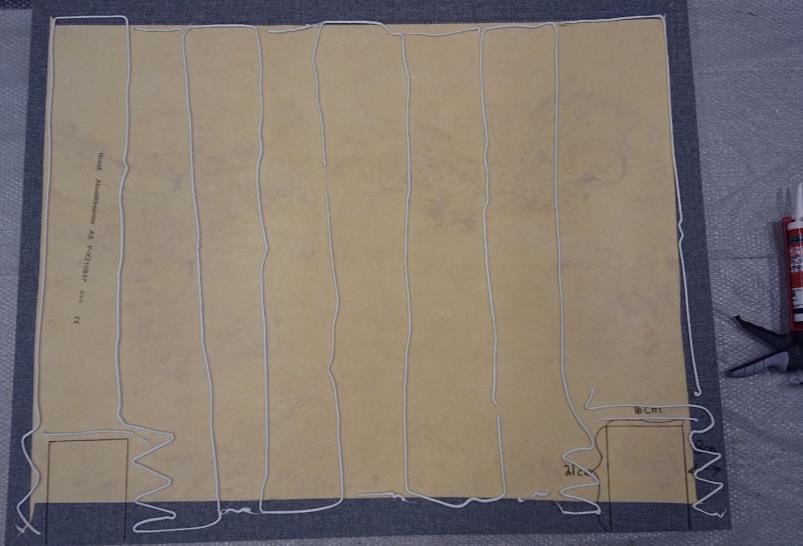
Measure holes for where the feet will go in:
a) 8 cm from the side and in
b) 21 cm high
c) 16 cm wide
Step 3
Glue is applied evenly across the back. Do not apply glue to the areas where the feet will enter. Avoid large lumps and getting too close to the edges.
Step 4
Place the second disc on top and press them lightly
together. Make sure they are edge to edge and add
something heavy. Let the glue dry preferably 24 hours before the next
step.